Search This Blog

Sunday, April 22, 2018

Stumpwork Violet RSN

I've been finishing off projects from my UK visit: I want to be ready to go to work on Nicola Jarvis's Dove Cottage sampler when it arrives back from the Wordsworth Museum Exhibition!

In the last week of my trip to England I attended a two day course at the Royal School of Needlework. As you can see, it was Easter!

It was a Stumpwork Violet and Silk Shading class  taught by Helen Jones. I chose it purely on the dates I had available and not for its content. Both Jenny Adin-Christie and Nicola Jarvis however, told me it would be a good class - and they were right.

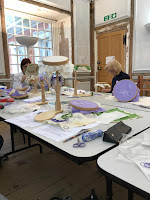
We were located in the classroom with the square windows - the first time I have been in this room with its view over the courtyard, rather than over the grounds.


     Wherever you look at Hampton Court it is interesting and visually attractive - even if a bit shabby.

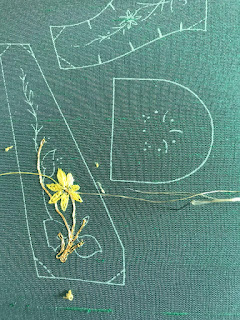
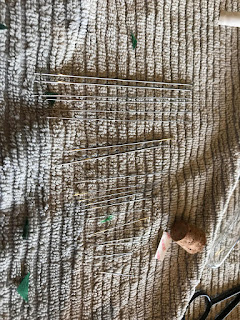
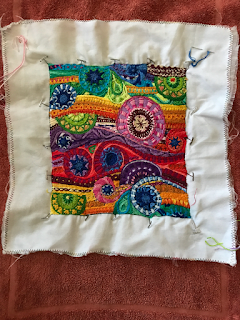
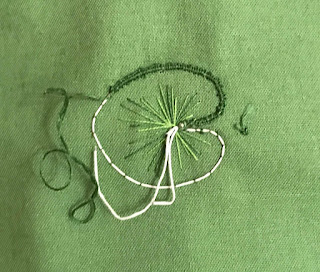
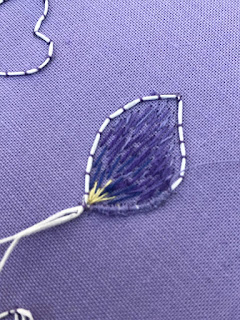
We began couching wires and embroidering leaves using stranded cotton.

Towards the end of the first day we learned the silk shading technique.I got used to the idea that 'silk shading' is being used to describe a thread painting technique in any thread, rather than shading in silk thread.


I did quite a bit of work overnight to finish the leaves of the violet so I could cut it out, plunge and assemble it the next morning. We had a bit of time on this in the morning of the second day.

Most of my fellow students sensibly chose to do the green leaf, rather than the five petals in order to have something to plunge!

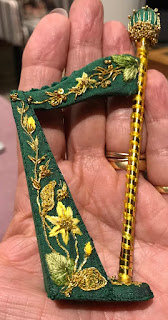
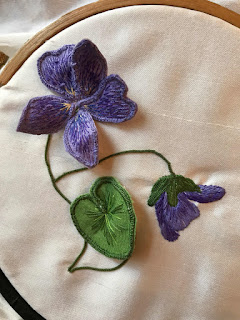
I wasn't regretful, as I wanted to be as close to finishing as I could be, to avoid taking home another UFO. I managed to have the violet finished and attached by the end of the day, along with an attached stem in silk-covered purl


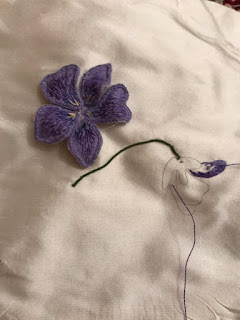
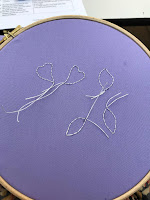
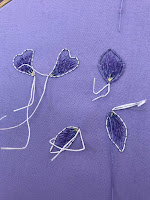
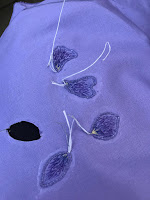
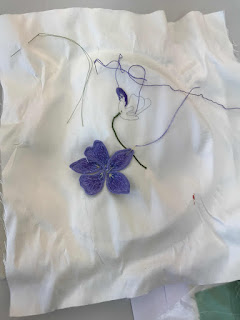
and the best part of a leaf. I had started, but not finished, the thread-painted violet.


Back at the hotel that night I worked to finish the piece. I finished it all, except for the beaded centre of the flower.


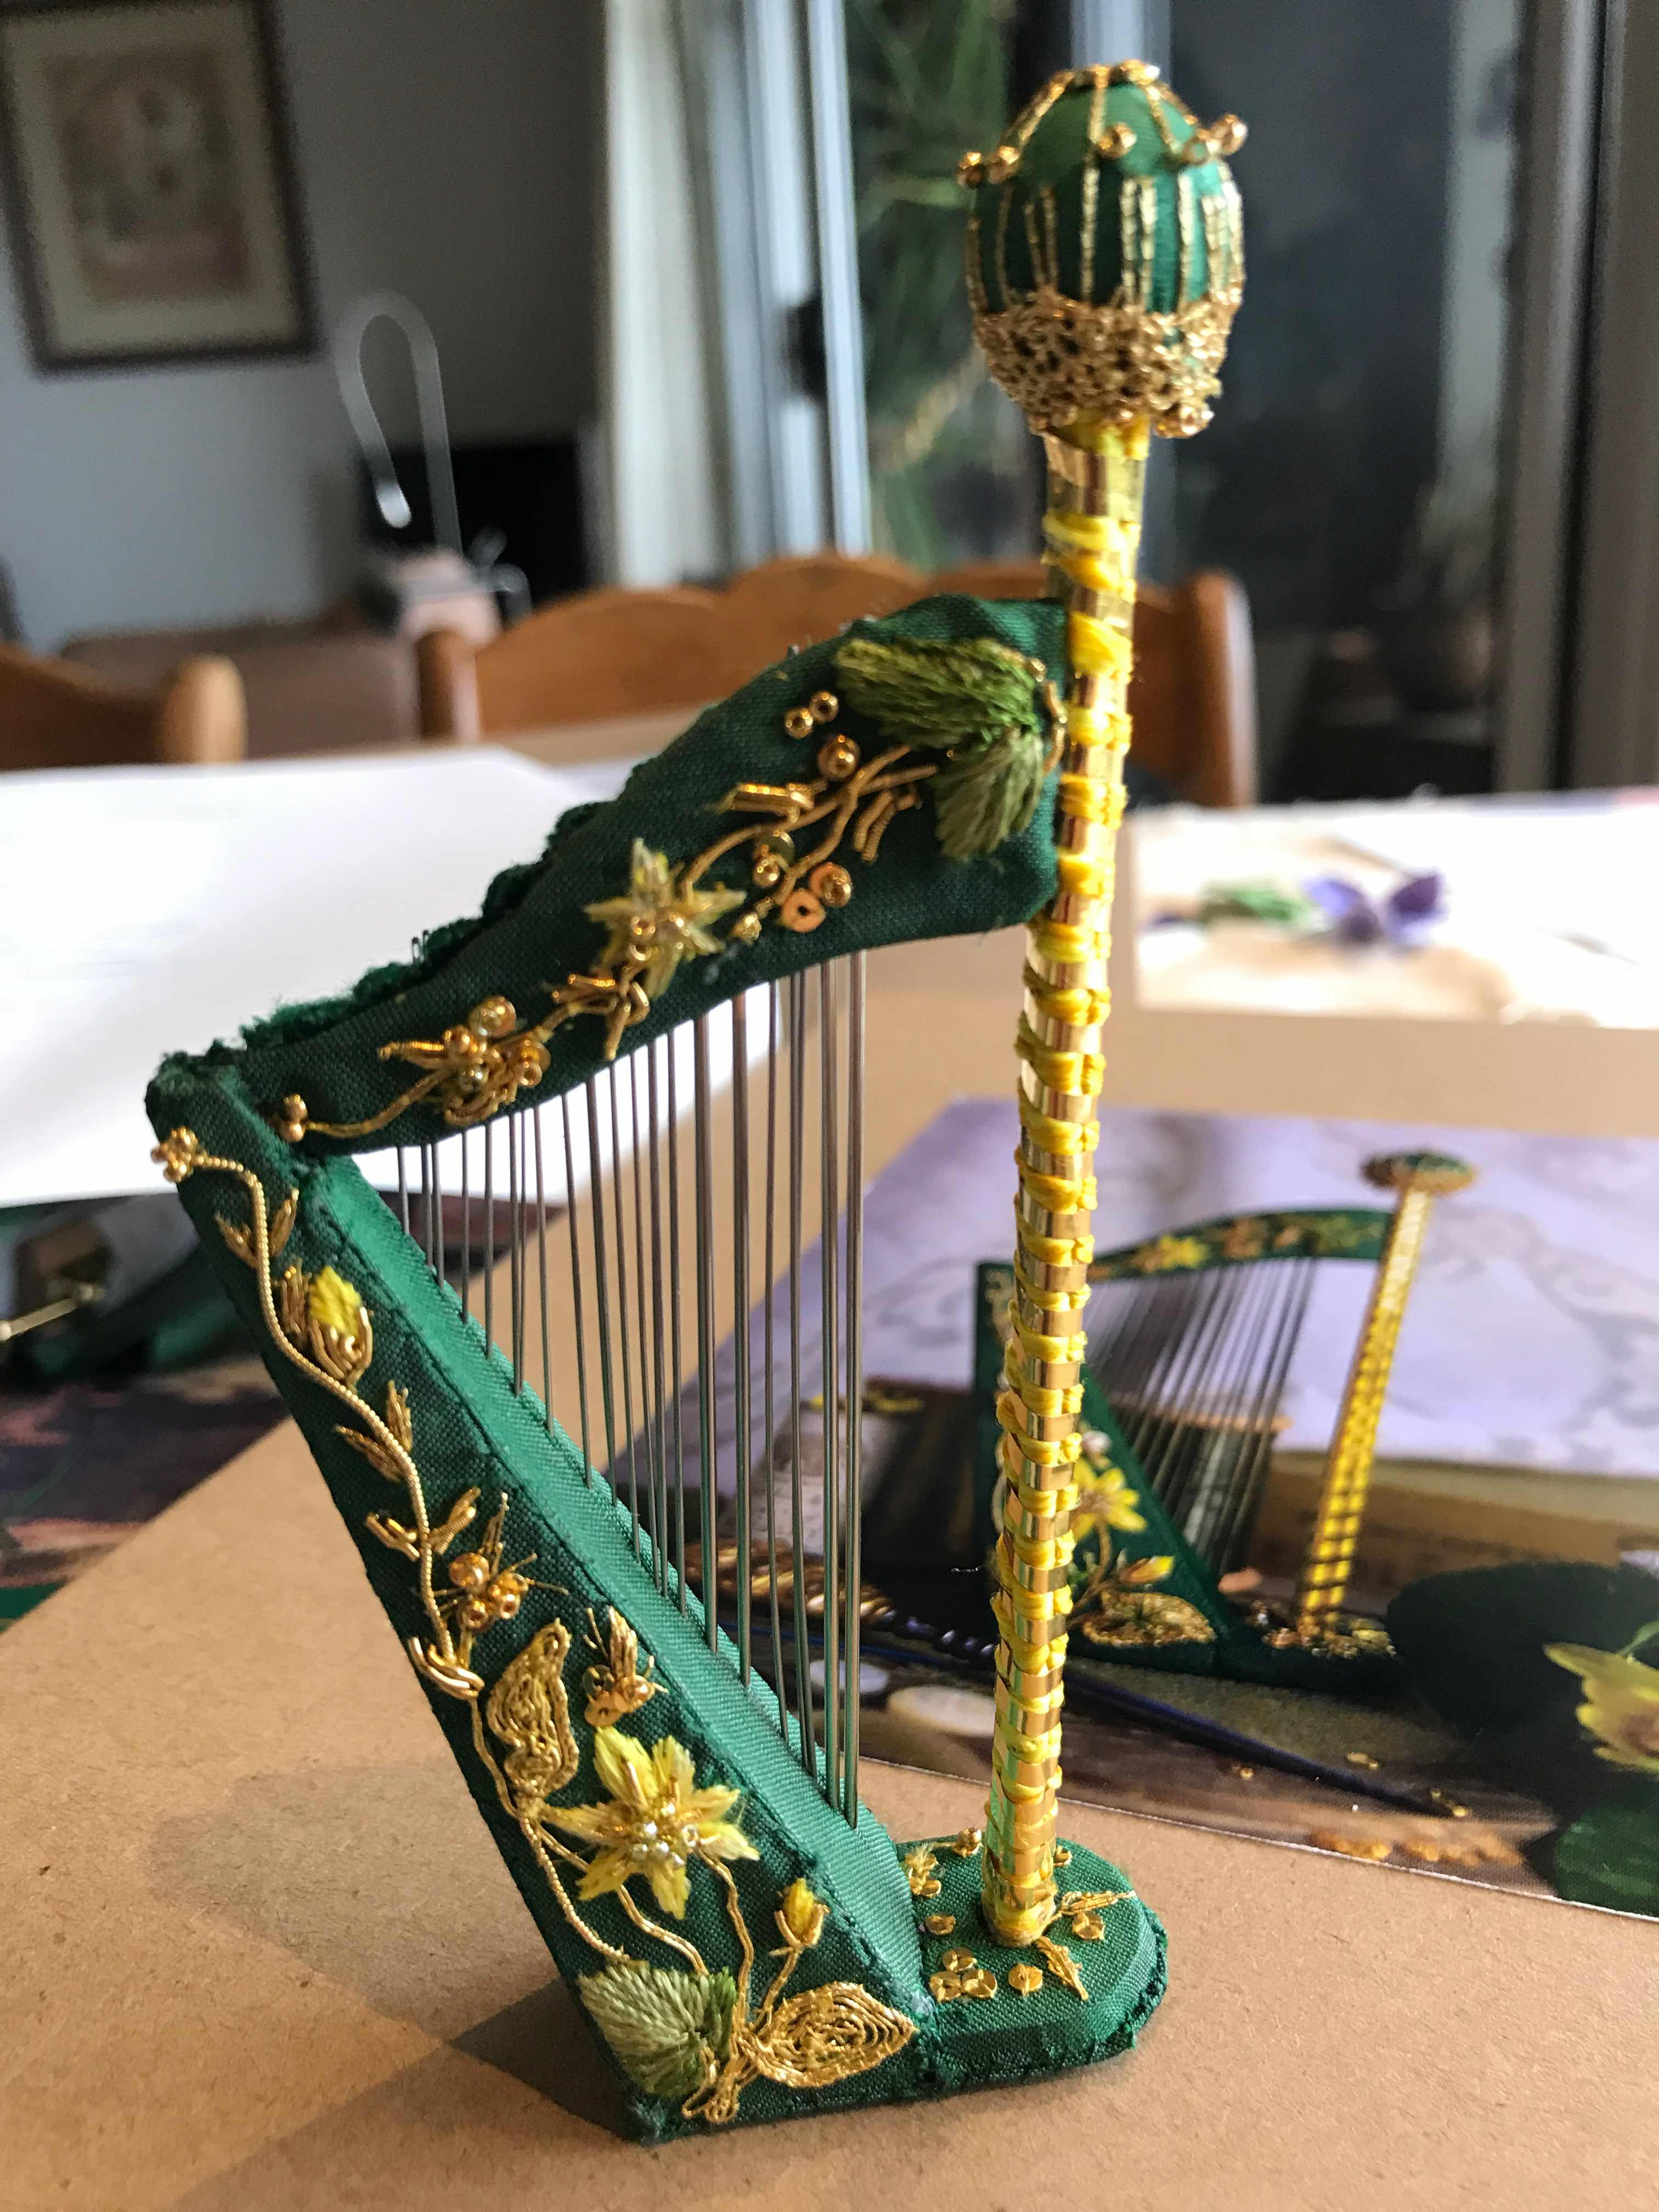
There was nothing I had not done before, but I learned a lot of techniques and tips. My stem to the silk flower is misplaced. I adapted to accommodate, but should probably have moved it. It remains as a reminder that
(1) violets are scraggly things and grow at odd angles
(2) I need to double check placement of purl.


Helen was a thorough, pleasant, relaxed and highly professional teacher. I benefitted - in technique, but also in enjoyment and relaxation.


It is interesting to be at the RSN classrooms, which are shabby, rambling and a bit ramshackle. You keep coming across wonderful pieces of embroidery sitting behind a makeshift display of current student work or items of interest.


It is a calm and pleasant environment in which to learn.


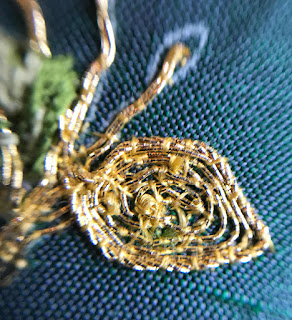
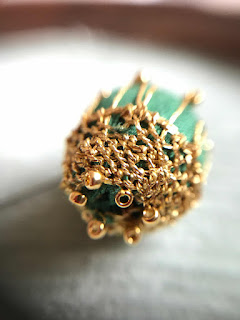
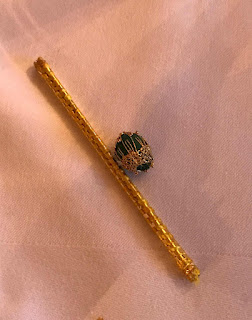
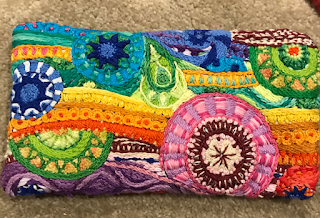
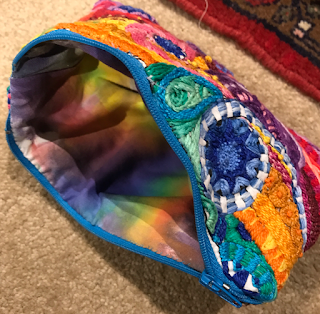
Once home, I found some gold pieces with which to fill the centre of the stumpwork violet. I then went searching for something on which to use it. This was not easy to find but I came up with a satin-covered box on Alison Coles' website and ordered one in green. I was very pleased with it and will, I'm sure, order more.


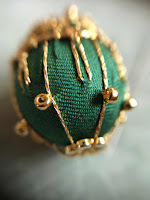
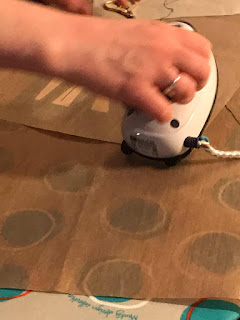
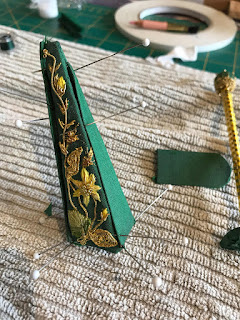
Mounting was pretty easy. The padded lid lifts off. I pinned the violet silk, cut it, gathered and lashed it,


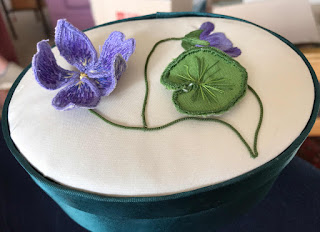
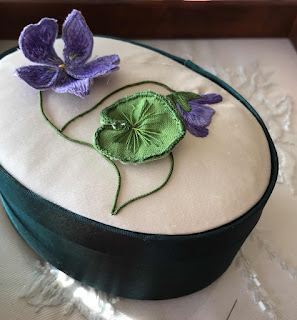
It fitted quite snuggly, but I used double-sided tape to ensure it didn't dislodge

It caught Veronica's eye - so might end up with some birthday jewellery in it for her.


I'm really pleased with this result. I learned quite a lot in a really relaxed atmosphere with people who share some of my interests and finished up with an elegant, useful object to remind me of it.

What more could I ask for?


Monday, April 16, 2018

Harp Needlecase: Jenny Adin-Christie

Those who followed my travel blog in March will already know a bit about Jenny Adin-Christie’s Harp project that I and my fellow Retreaters worked on inWindermere. Jenny designed the Harp Needlecase to replicate (and improve on) one held by the Wordsworth Museum in Grasmere. The original was made by Edith Southey, the daughter of the poet Robert Southey, while staying with the Wordsworths in Dove Cottage. It is an amazing tool that we saw, and fell for, at the Wordsworth Museum in 2017.

Jenny’s work to reproduce it is extraordinary. It combines so many skills of embroidery, design and construction. Having achieved that, she patiently taught us, in tiny meticulously explicit, steps, how to make it.  Unusually, the kit for this has been made available more widely after the retreat, for anyone interested.


We began by stitching the design on silk, in both silk and gold thread.


The rod and its finial  was a lovely and enjoya
ble piece of work, completed during class.


I finished off the last of the embroidery at home late last week.


The construction began in class. It involved a bit of careful ironing,


a lot of pins, a bit of glue, and fine, delicate stitching.


I didn’t attempt the construction until I got home, had unpacked, attended to accumulated tasks and could clear an afternoon and a morning. The pinning and glueing took an afternoon. The night before I had been through the kit to re-identify and organise the many component parts, all in plastic bags carefully labelled. It would be very easy to lose something -especially while travelling. The only thing I was missing were some little pins to sit in the underside of the sound box to act as little feet. A pity, but fortunately the harp is stable without them.


Inserting the needles ( bespoke -manufactured in Japan to Jenny’s specifications) was challenging. I hadn’t expected it to take so long but the placement needed to be quite precise and I needed pliers to do it. I don’t think I will be taking them out to use on a daily basis (probably not in any basis!).


The final result took my breath away. I’m not sure, confident as I am, that I believed I could really make this. It is exquisite. I have ordered a dome to go over it. It won’t arrive until October.  I don’t usually go in for display items but this project warrants it, I think. 

How amazing is that?

Thank you so much Jenny! 

Monday, April 9, 2018

More zenbroidery

The zenbroidery piece I have been working on while travelling is the third piece I have worked. The first was a mandala. The second is the one below.

When I finished my Christmas cushions, I wanted a no-pressure project that I could pick up and put down over the Christmas period. I reached for another of the zenbroidery pieces in my stash - along with one of the cotton thread packs I had originally purchased from Herrschners ( more recently I have bought them in Australia through the Fox Collection).

This design presented more dilemmas than my previous mandala because there was potentially more white space. As the mandala was in quite narrow rings, there were fewer choices of whether to fill or not to fill.

I began roughly in the centre with some of the spirals, and left quite a lot of space.


These designs are  great for experimenting with stitches. The spirals lent themselves to running stitch in the Kantha style. I used star stitch on many of the centres and quite a bit of stem stitch.


I worked out colour as I went, once again, grading through the rainbow from the centre out. As I went, I experimented with leaving white and filling it in. By the end I had pretty much filled it all.


I find these great fun to stitch. I love making it up as I go along, trying things out, adjusting, adapting. It really IS colouring with thread - with the extra pleasure of playing with stitches.


Because I worked this on holidays over Christmas, mostly in my hand, with only the occasional use of a hoop for tricky stitches, it needed blocking. My intention was to turn it into a bag. I tried therefore to square it up by blocking.


This worked well, so I found a lining fabric and zip. I really like the look of this. The thread is from China and I enjoyed working with it. It is perle, soft and pleasant to work with- very little tangling, no shredding and wonderful colours.


I folded it in half, sewed up the sides and added a zip. It makes a lovely gift. I'm glad I filled in
most of the white background with colour and texture. The resulting pouch  is a useful size for a pencil case or small tools.


I have given it as a gift to a cousin. It's handy and not readily lost.

I've been working another, slightly larger, while travelling.


I like the thread, the colours, the patterns - and the leeway to make your own emphasis and colourways.


I can see myself making more of these.