(http://jillian-alwaysstitching.blogspot.com/2011/01/smocked-top-for-adult.html ).
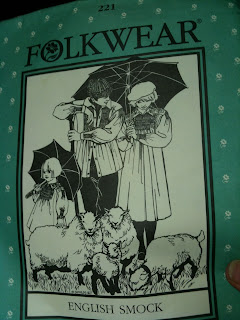
I began work on this smock when I finishing the gum-blossom needle book.
As it involves quite a bit of work, I am going to write about it in three parts: the smocking; the embroidery; and the construction. This blog is about the smocking.
It was a bit of a mistake to cut it out and pleat it so long before I began work on it, particularly since the pattern doesn't assume the use of a pleater. Techniques for working with pleaters are a bit different to working with smocking dots.
The back and front bodices are smocked and so are the wrists and the shoulders of the sleeves. With a pleater it is easier to pleat from edge to edge, then remove the pleats you don't need. Six months ago I pleated from edge to edge of both sleeves and bodices, but didn't remove the excess pleats. When I picked it up a week ago I assumed the usual allowance for seams and smocked one sleeve from edge to edge at the shoulder as well as the wrist, and the back bodice right across before realising my mistake.


The sleeve at least was easy to unpick!

I am not too worried about the back bodice, because it is simple to add a strip to each side. The good thing about traditional smocks is that you can always add in a rectangular strip of fabric.
I have, however, finished the second sleeve with the narrower panel of smocking and removed some of the pleats at either side of the front panel before beginning to smock it.
The smocking is really the easy bit. A traditional English smock is made up of various sized rectangles pieced together, some smocked, some embroidered, some plain. Working out how to put these together so they fit me- at least loosely - is going to be the challenge.


2 comments:
I love the colours and design of the smocking. Last year I went through my rather small stash of dress fabrics and cut out heaps of 0-2 yrs outfits and have them bagged up with AS&E issues ready to pleat and assemble. I prefer to smock last then I dont have problems with smocking near necklines etc LOL. Cheating I know.
I chose the colours. The design is basically the traditional one that comes with the pattern, but I added the dark red feather stitch and a couple of extra rows in the trellis to make it a bit more dense.
I think you are clever to smock last. Had I thought of it, that might have worked well on this smock where the construction is going to be a challenge. I am used to AS&E instructions that are so clear and actually teach you how to do things. I'm still trying to understand the construction principles of this smock.
Post a Comment